
Internet Protocol, popularly known as IP address, is the unique-based address allocated to all the devices connected to the internet. The computer network utilizes this address to communicate with other machines, network servers, and websites.
To better simplify this, let us take an example of a house address; the postman uses this address to deliver the mail to this house. The pizza delivery person uses the same house address to deliver pizza.
IP addresses use the same concept in that websites have their IP addresses; the websites also have a log of the IP addresses of the network from the location the web is accessed. When you interlink some databases of any server, you can access the database by having the IP address of its server, and that server again has the record of your IP address in its log sheet.
In this article, you will see how to find an IP address on Linux, specifically Debian, and how you can change the IP address simultaneously.
How do we find IP addresses on Debian?
There are ideally two methods that we can use to find out the IP address of our network on Debian. The first is by the Graphical User Interface (GUI), while the second is by executing simple commands on the terminal. You don’t need to worry about any of the methods as we will discuss both of them.
Method 1: Find IP address by terminal
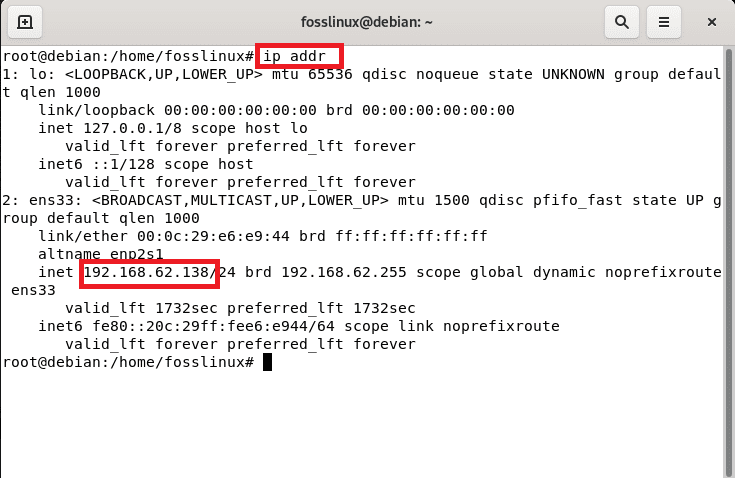
To access your IP address via this method, then open up the terminal and type in the following command, and press “Enter” afterward to execute it:
ip addr
check IP
In the output, you can see the IP address of our internet device, which our machine is connected to, is 192.168.62.138. Alternatively, we can still find this same IP address by running the following command in the terminal and pressing “Enter” afterward to execute.
ip a

check IP
Method 2: Find IP address by graphical user interface method
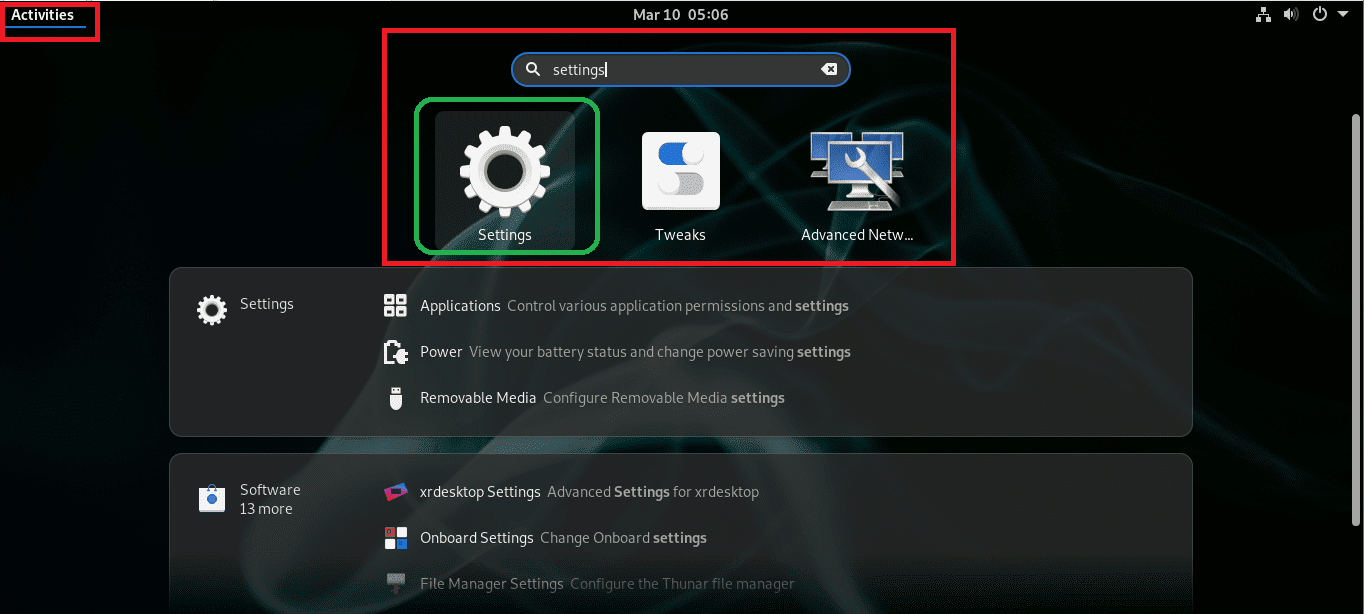
On the flip side, we can still find out the IP address via the GUI method. We will open up the settings window by going to “activities” and simply searching for settings and clicking on it to open.
Search for settings
After that, navigate to “Network,” located on the left side of the settings window.

select network
Then click on the gear icon present in front of the option “Wired.”

Click on the gear button.
Upon clicking the gear icon, a prompt window will open up. This is where you can see your IP address with the title of IPv4 address as shown in the snapshot below:
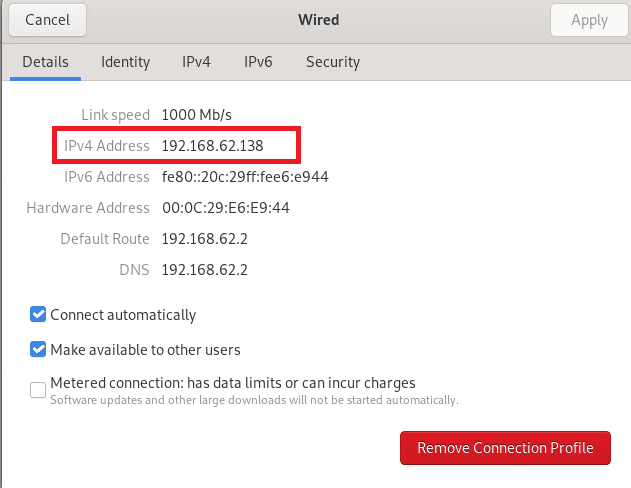
Ip address
Why should we have to change the IP address?
There are several reasons for one to change the IP address. Sometimes you might want to fix some internet-related issues. Furthermore, if you have any privacy concerns in online platforms, you can change your IP address to secure your network from the online audience. Similarly, if you want to conceal your machine from the other machines, you can also do that by changing your IP address.
How can I change my IP address on Debian?
We can carry out this task on Debian by running some simple commands in the terminal and from the Graphical user interface format.
Method 1: How to change IP address by terminal method
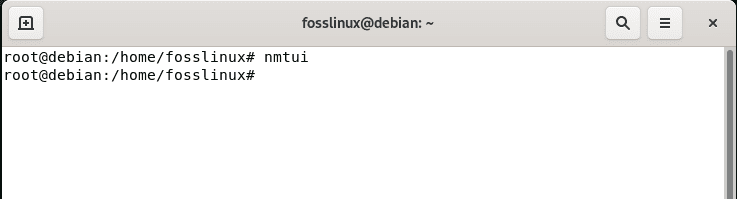
Debian has a network utility called Network Manager Text User Interface, known as “Nmtui,” a command-line tool used for network configuration on Gnu/Linux systems. When run, it prompts a graphical text interface that aids users in configuring network interfaces more effectively. Generally, numtui is utilized in configuring network-related settings. As such, run the following command in the terminal:
nmtui
nmtui command
After that, a prompt will open, select the first option, “Edit a connection,” and press “OK.”
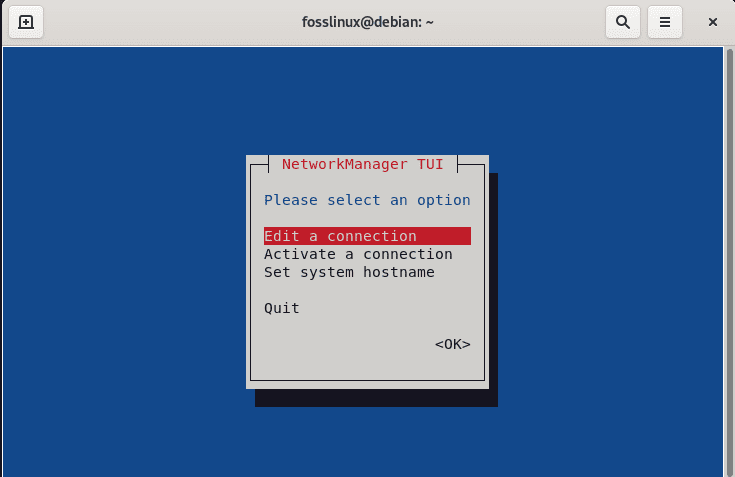
select Edit a connection
There and then, another prompt will open, Select “Edit.”
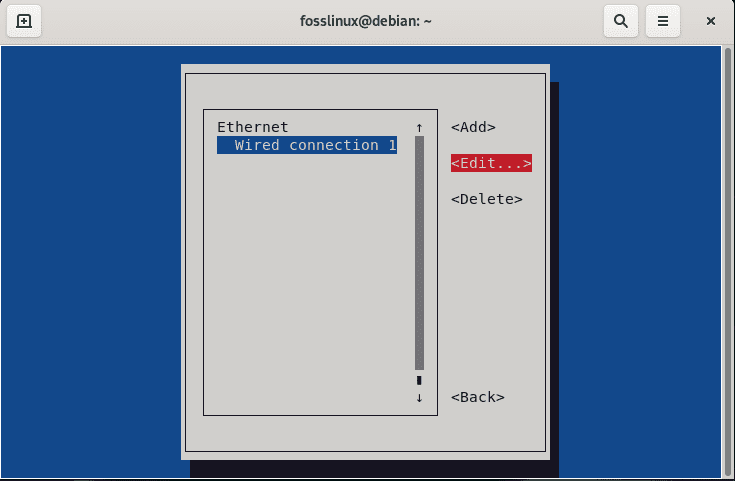
select Edit
In the next window, select the “manual” option in the IPv4 CONFIGURATION
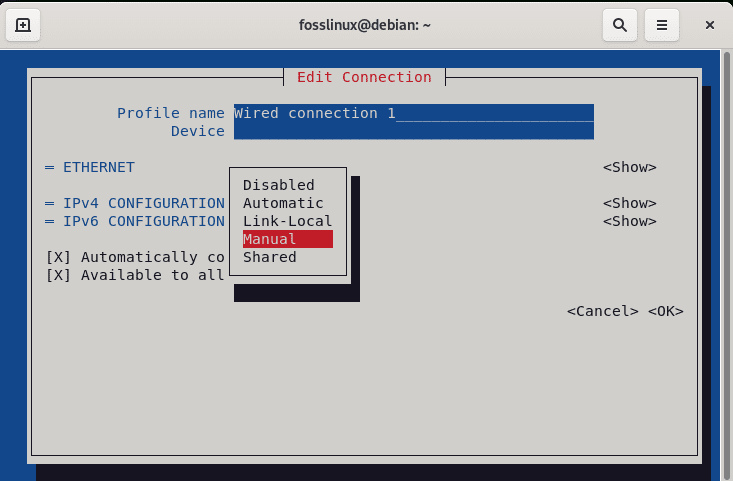
select manual
Then click on the “Show” option located in front of the IPv4 CONFIGURATION <Manual>
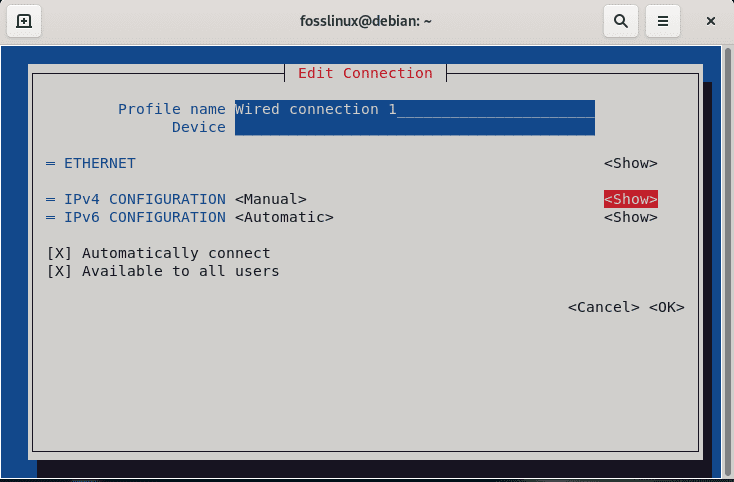
Click on Show
Go ahead and click on the Addresses, and you should be permitted to key in a new IP Address in this section.
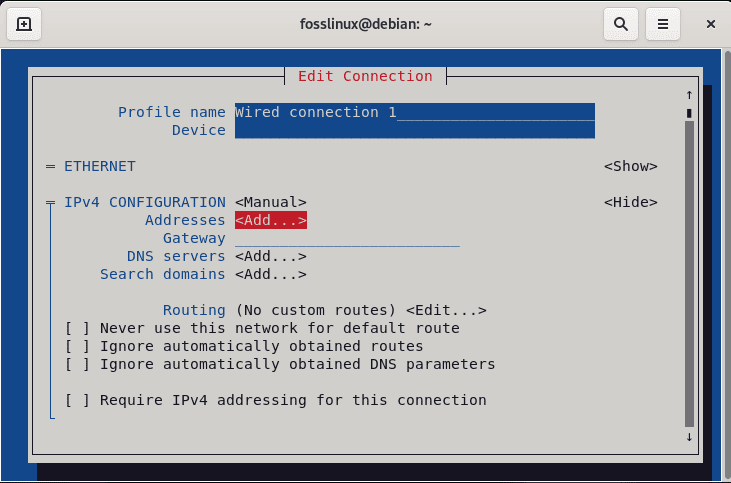
Next, click on the address and add the required address.
As such, input your preferred IP address as shown below
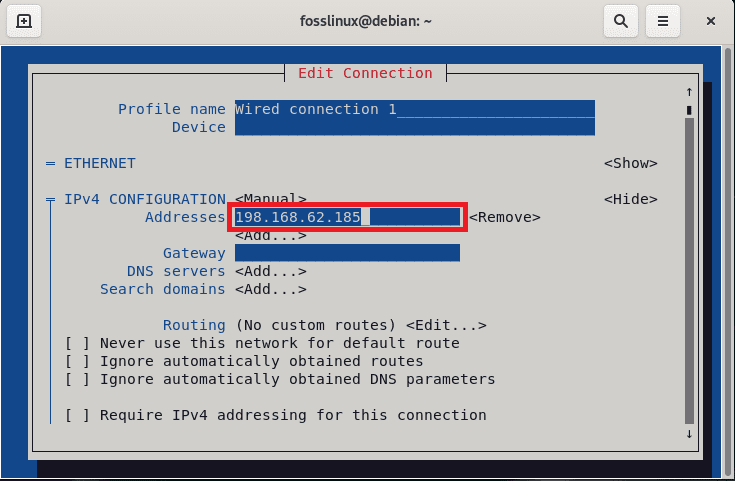
add address.
Then scroll down the same window, and you will see two buttons, “Cancel and Ok,” select the “OK” button, and press “Enter.”

Click on OK
Select the “Back” button to close down this menu in the next window.
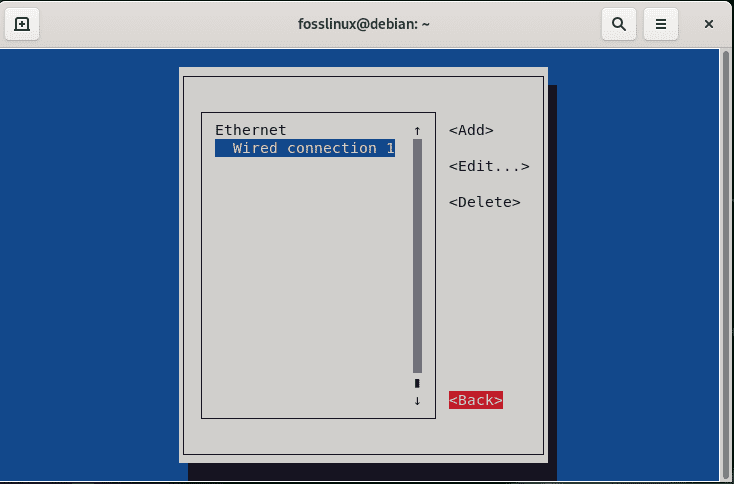
select back
Another window will then come up. On this window, click on “Activate a connection.”
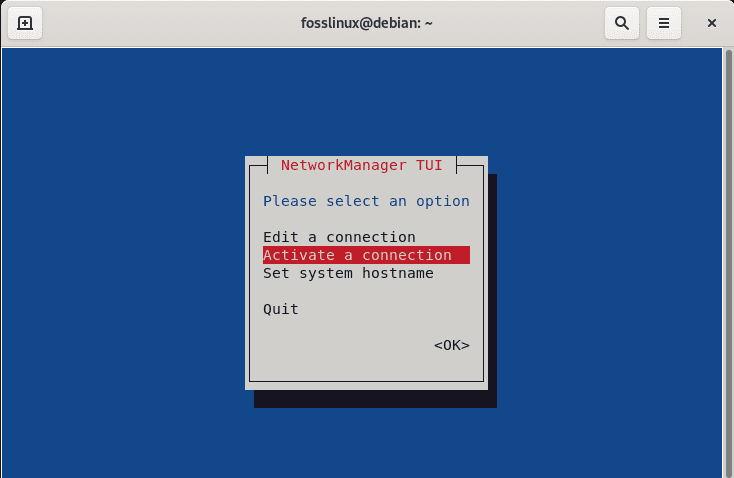
select Activate a connection
Here, we will restart the new settings we have enforced to take effect. To reboot the newly configured settings, select “Deactivate,” as shown in the screenshot below.
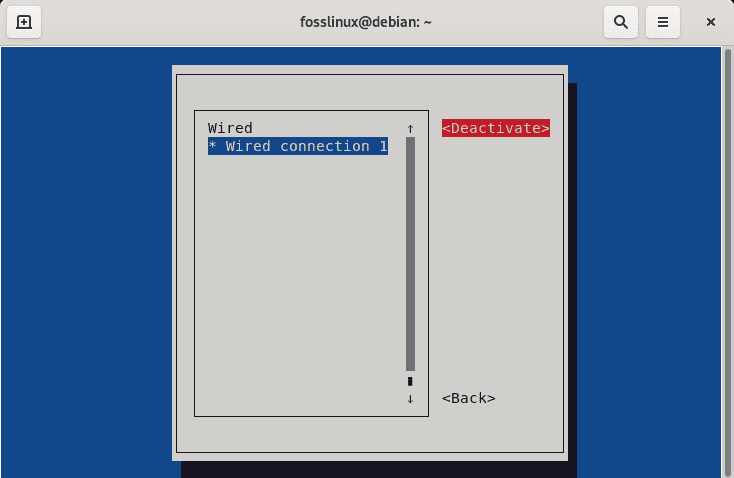
select Deactivate
Then activate it again.

activate it again
After that, click on the “Back” button.
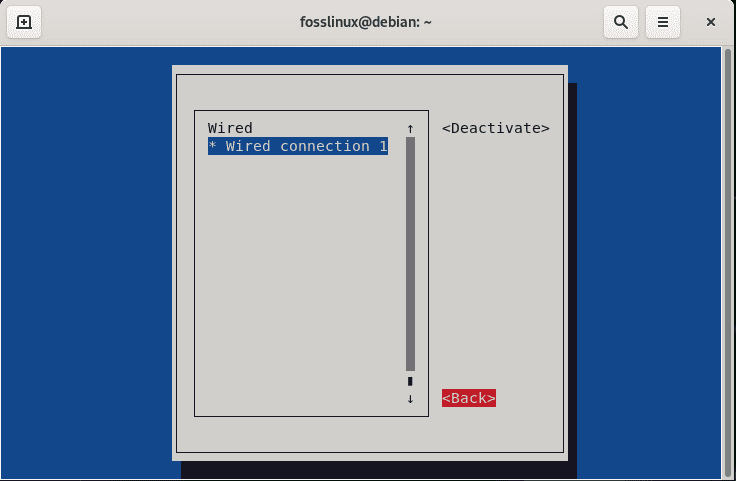
hit the back button again
As seen, we have changed the IP address, “198.168.62.138,” to “198.168.62.185.” Alternatively, we can use the graphical user interface to carry out the same changing IP address.
Method 2: How to change IP address by GUI method
To do this, open the settings by going to “activities” and using the search bar to look for the settings icon and click on it.

Search for settings
After that, navigate to the Network section as shown below
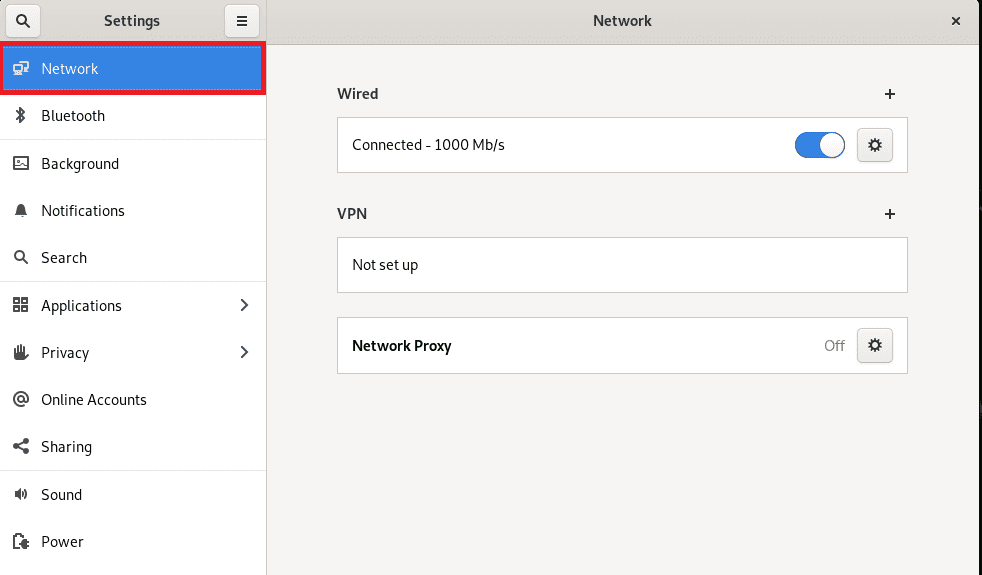
select network
Then click on the settings icon in the Network section
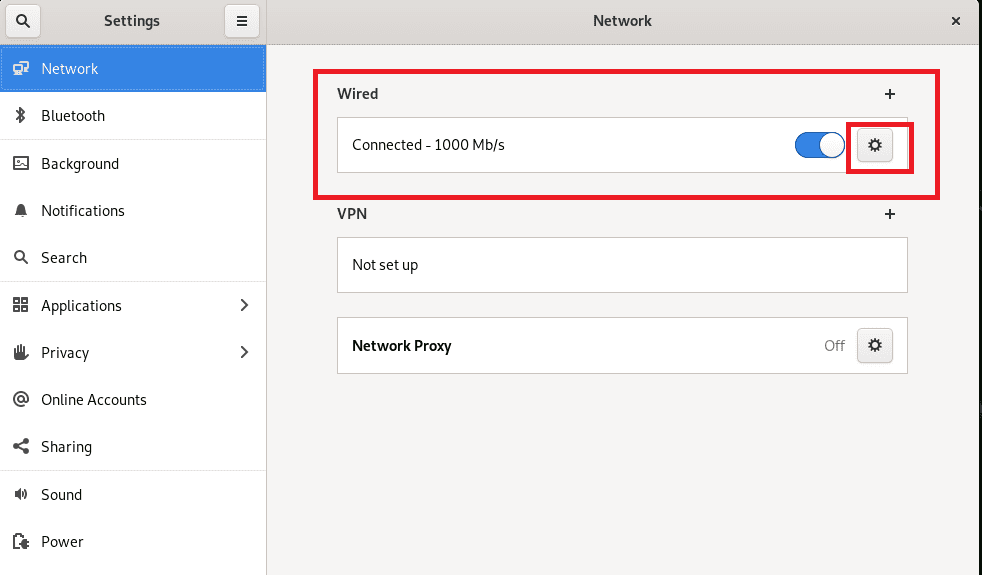
select network
After that, a prompt box will be opened, click on the IPv4, select Manual, type the desired IP address in the “address” box, key in the netmask and gateway addresses and click on the “APPLY” button to save the changes.
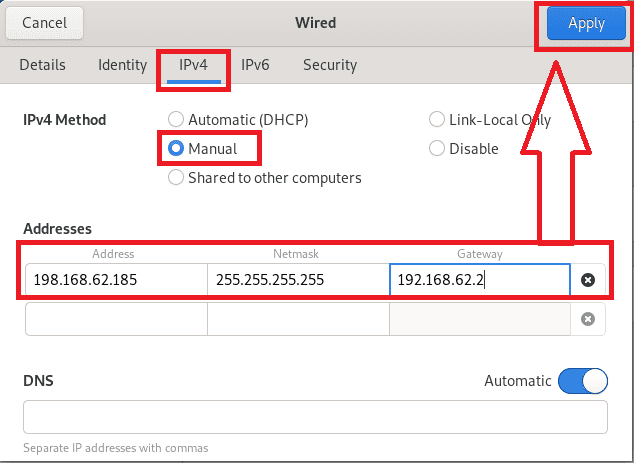
select IPv4
Finally, switch off the connection by clicking on the button and then switching “on” again to restart the settings.
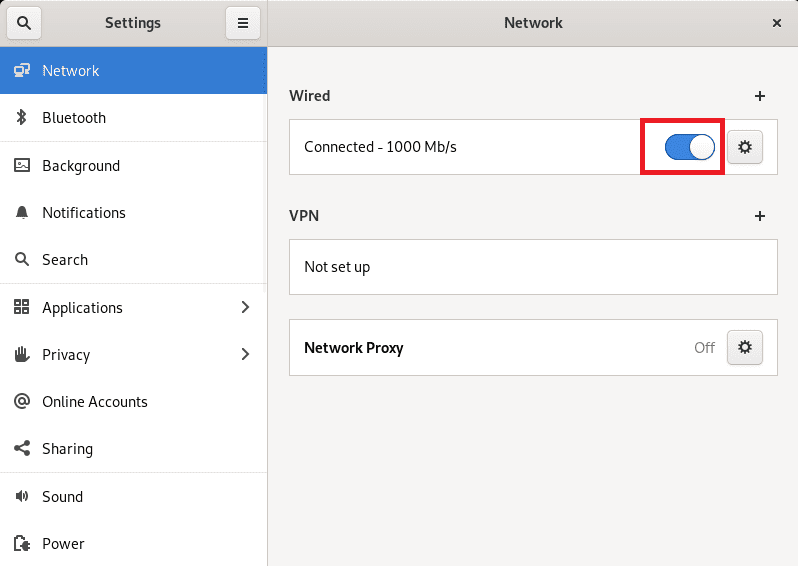
off the on button
Wrapping up
An IP address is a specific address of any user working on an internet environment. They can communicate to other network users, meaning it is end-to-end communication. This article has diversely discussed the meaning of an IP address, why one may opt to change an IP address and how you can change your PC’s IP address on Debian.
We, in detail, covered the two methods by command line method and the graphical user interface that we believe you are well of with now. Thanks for reading this guide, and keep following FOSS Linux for more on all Linux distros.