
Do you know that you can create an Ubuntu Live USB from your terminal? If you are a command-line geek who loves to do everything using the terminal and don’t like installing a third-party app for creating a live USB drive, you have landed in the correct place!
Previously, we have shown you how to create an Ubuntu Live USB GUI way. In today’s tutorial, we are going to show you how to create an Ubuntu Live USB via the terminal.
The terminal way of doing things is always a great way to execute your tasks efficiently and faster as it does not consume much system resources. Hence it is an excellent alternative for GUI based applications.
Create an Ubuntu Live USB using Terminal
Step 1. First things first, we need to download the Ubuntu ISO. Open your favorite web browser.
Step 2. From the official Ubuntu website, download Ubuntu. In this guide, we will download Ubuntu Desktop 18.04.
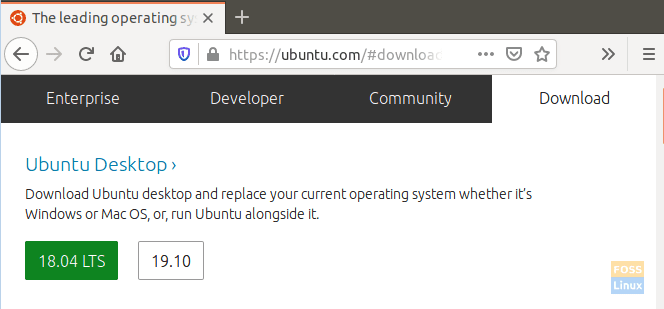
Download Ubuntu From The Official Website
Step 3. Save your Ubuntu ISO.
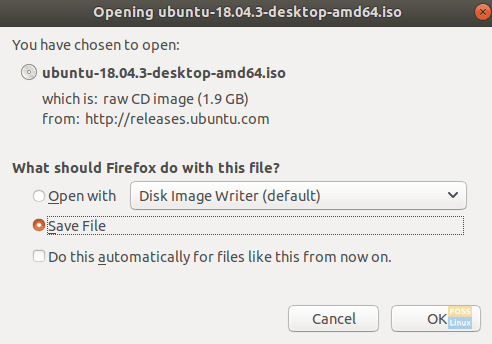
Save Your Ubuntu Download File
Step 4. Next, launch the terminal.
Open Your Terminal
Step 5. Plug in a blank USB flash drive of at least 4GB capacity.
Step 6. Get your USB drive name using the following command.
df

Get Your USB Drive Name
As you can see in the above screenshot, the USB drive, in my case, is the last entry. The USB drive name is “/dev/sdb1,” and it is mounted on “/media/hendadel/UBUNTULIVE.”
Step 7. Before writing data to the USB drive, you will need to make sure that it is unmounted. If the USB drive is automatically mounted, then use one of the next commands to unmount it.
The first method, you can unmount the USB drive using the device name as following:
sudo umount /dev/sdb1

Unmount the USB Drive
The second method, you can unmount the USB drive using the path where the USB is mounted to as following:
sudo umount /media/hendadel/UBUNTULIVE
Step 8. Now make sure that the USB drive is unmounted using the following command.
df
USB Drive Unmounted Successfully
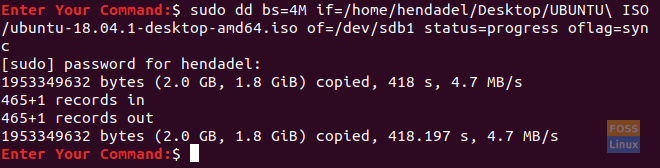
Step 9. Enter the following command to create a bootable Ubuntu Live USB. Make sure to replace the path of the download ISO image with your download path in the below command:
sudo dd bs=4M if=/home/hendadel/Desktop/UBUNTU\ ISO/ubuntu-18.04.1-desktop-amd64.iso of=/dev/sdb1 status=progress oflag=sync

Write The Ubuntu ISO To USB Drive
Pay attention to the progress in the terminal.
Step 10. When the writing process finishes successfully, you should get a message like the below one.
Ubuntu Live USB Created Successfully
Step 11. Now let’s check if the USB drive is mounted.
df

The Ubuntu Live USB Mounted Automatically
As you can see in the above screenshot, the USB drive is mounted, and its name is changed.
Step 12. To make sure the Ubuntu ISO is written successfully, let’s check the content of the USB drive.
ls /media/hendadel/Ubuntu\ 18.04.1\ LTS\ amd64/

The Ubuntu Live USB Content
That’s all about creating a bootable Ubuntu Live USB drive using your terminal.
3 comments
This command don’t work all the time
Hello! It’s my first time doing this and I was lost in step 9 (my distro isn’t Ubuntu, but a remastered from Linux Mint). Maybe you want to edit step 9 text, so that it’s easier to know how to adapt that command. Thanks a lot anyway!!
It might be good to say how the USB stick’s partition should be formatted before you begin, and also that it needs to be set as the bootable partition.